
1. About this platform
This is the officer portal for the COMESA Yellow Card Scheme — the digital system that member countries, National Bureaux and insurers use to underwrite motor policies, issue and validate Yellow Cards, capture evidence, handle claims, and give regulators oversight of the whole scheme. This deployment is operated by COMESA Yellow Card Secretariat.
The platform is role-based: what you can see and do depends on your role and your institution. This guide covers the roles and operations available on this deployment — your own workspace only ever shows the parts your role is permitted to use. Where a screen below is missing for you, your role does not carry that permission, or the feature is not enabled here.
2. Getting started
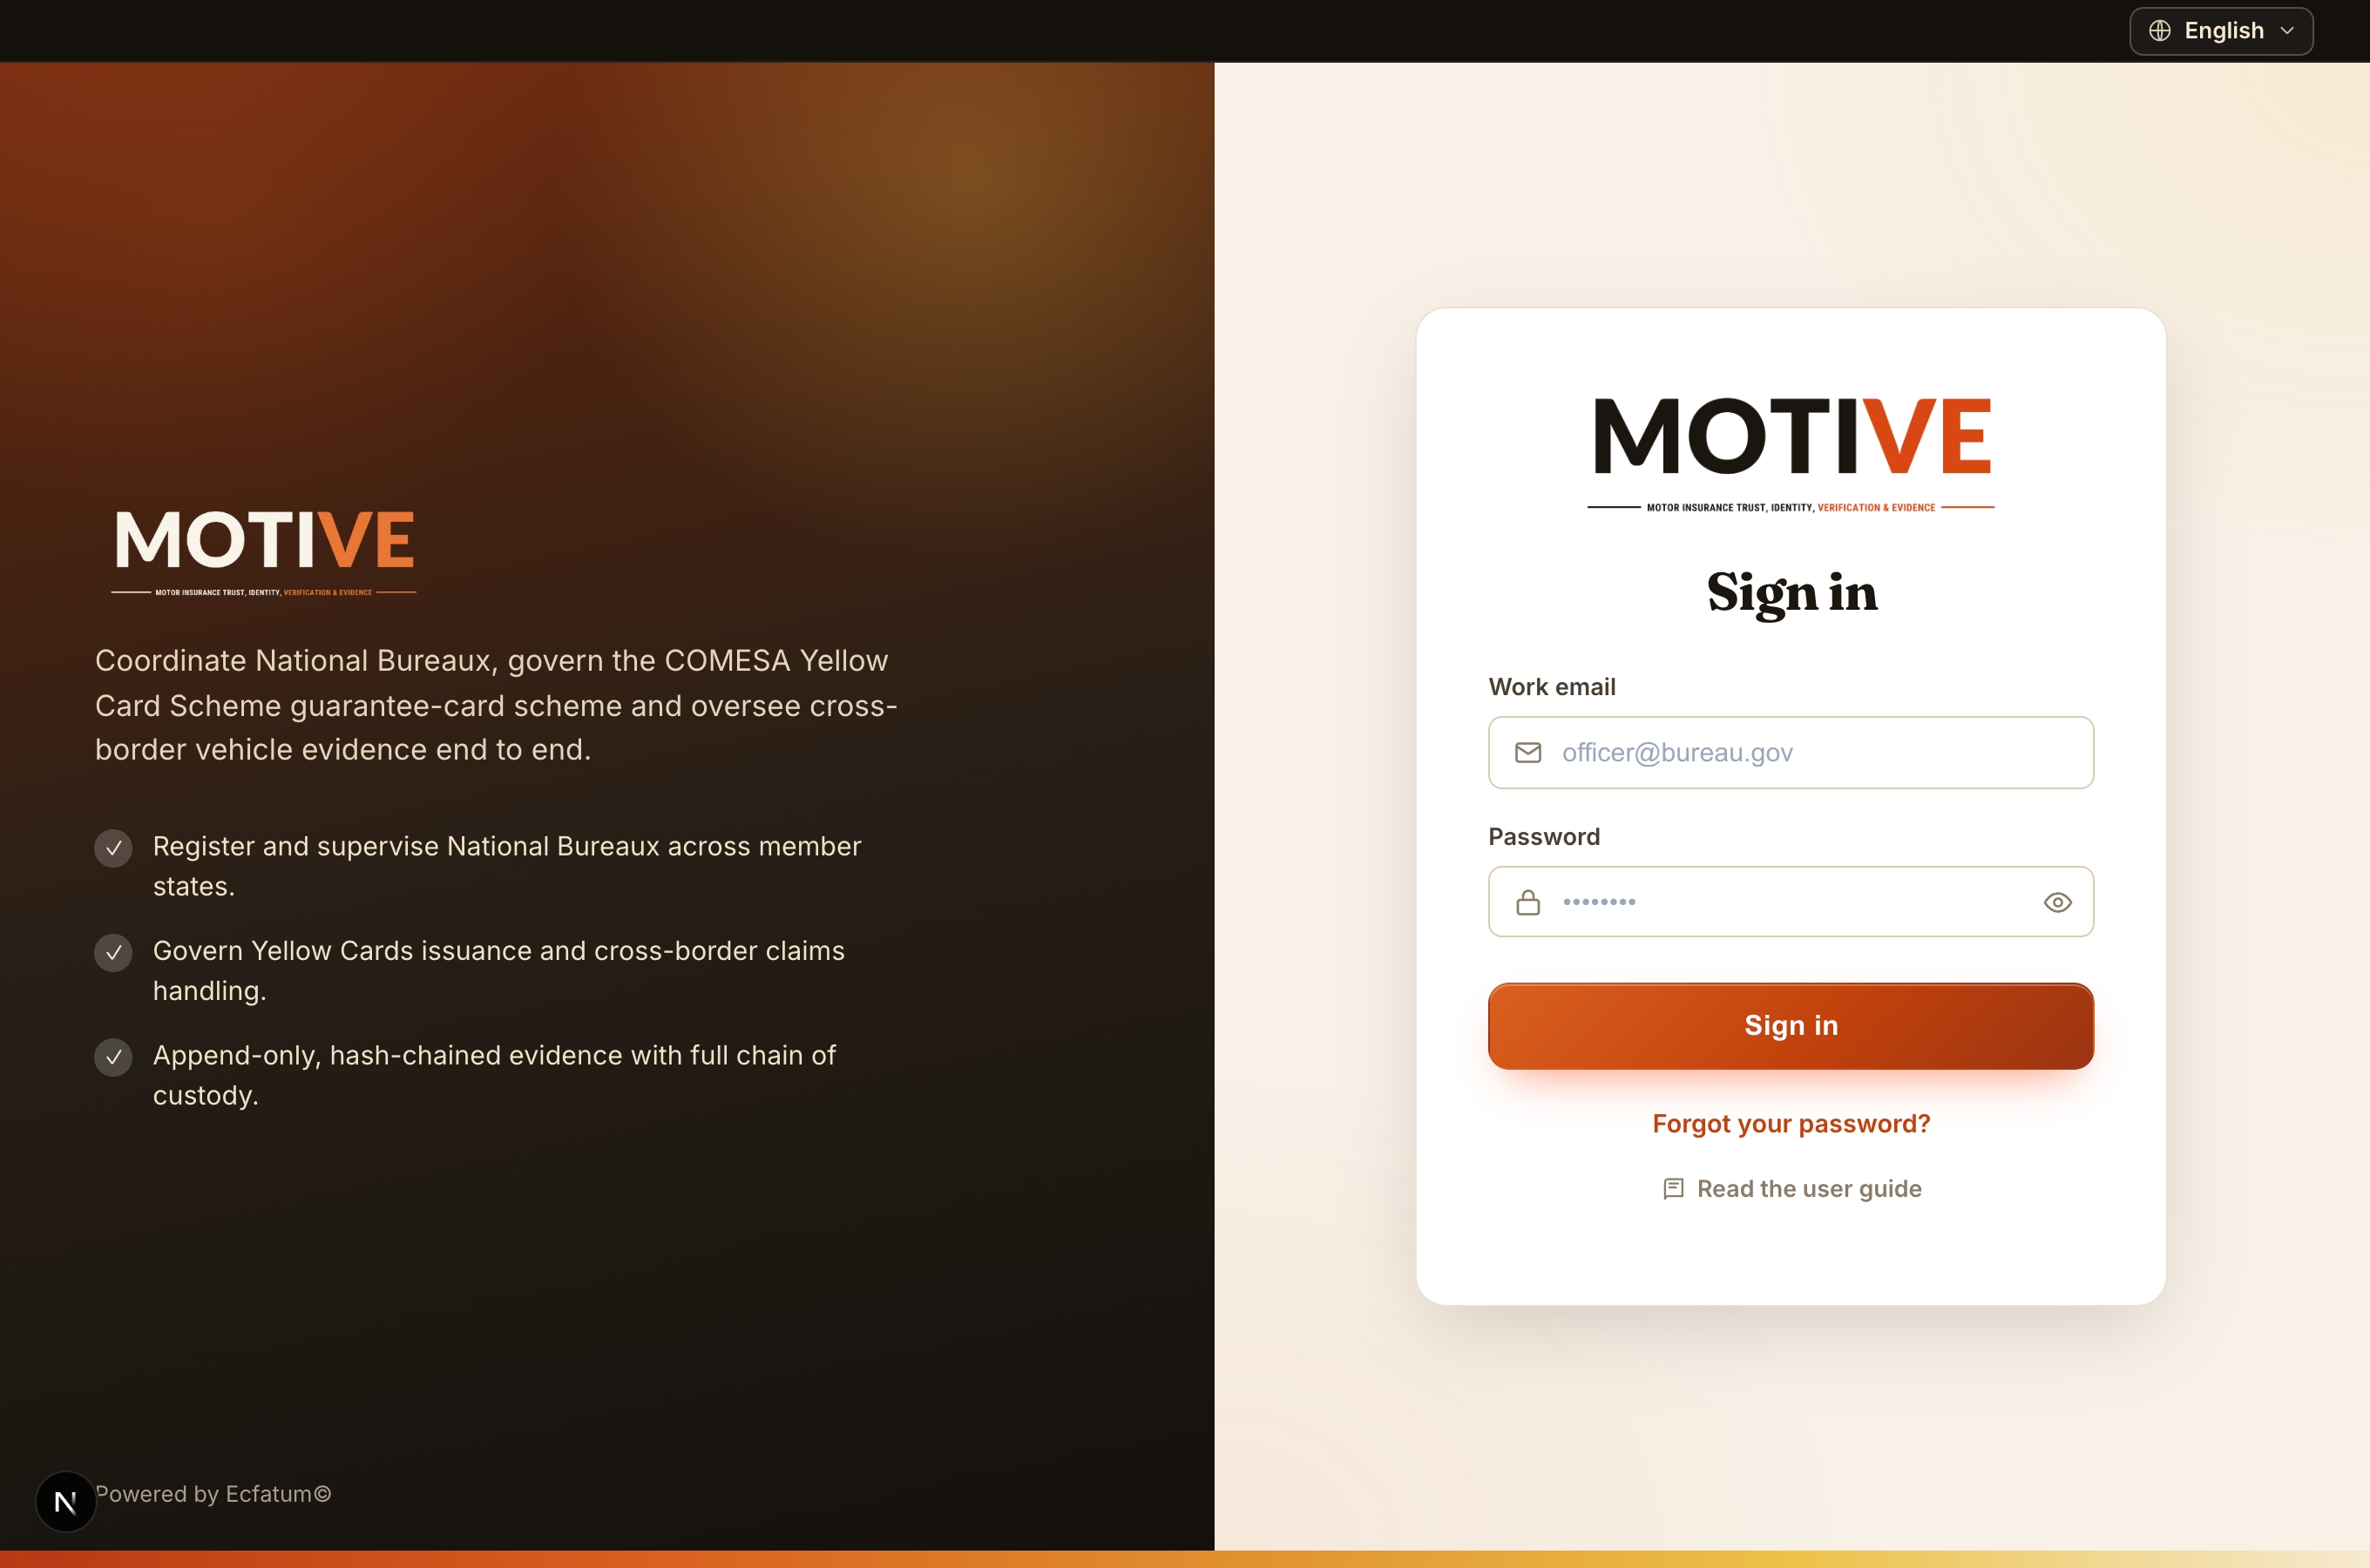
- Sign in with your work email and password at the portal login page. Your session is held in a secure, http-only cookie. If your account requires two-factor authentication, you enter a one-time code after your password.
- Accounts are created for you by an administrator at your institution, who emails you an invitation or set-password link — you do not self-register.
- Forgotten password — use the “Forgot your password?” link on the login page; a reset link is emailed to you. A locked-out account is re-enabled by your institution admin.
- Security & language — from the avatar menu → Profile you can change your password, enable two-factor authentication, and set your interface language (English, French, Portuguese).
- Go to the portal login page (your administrator sends you the link).
- Enter your work email and password.
- If two-factor is enabled, enter the one-time code from your authenticator app or SMS.
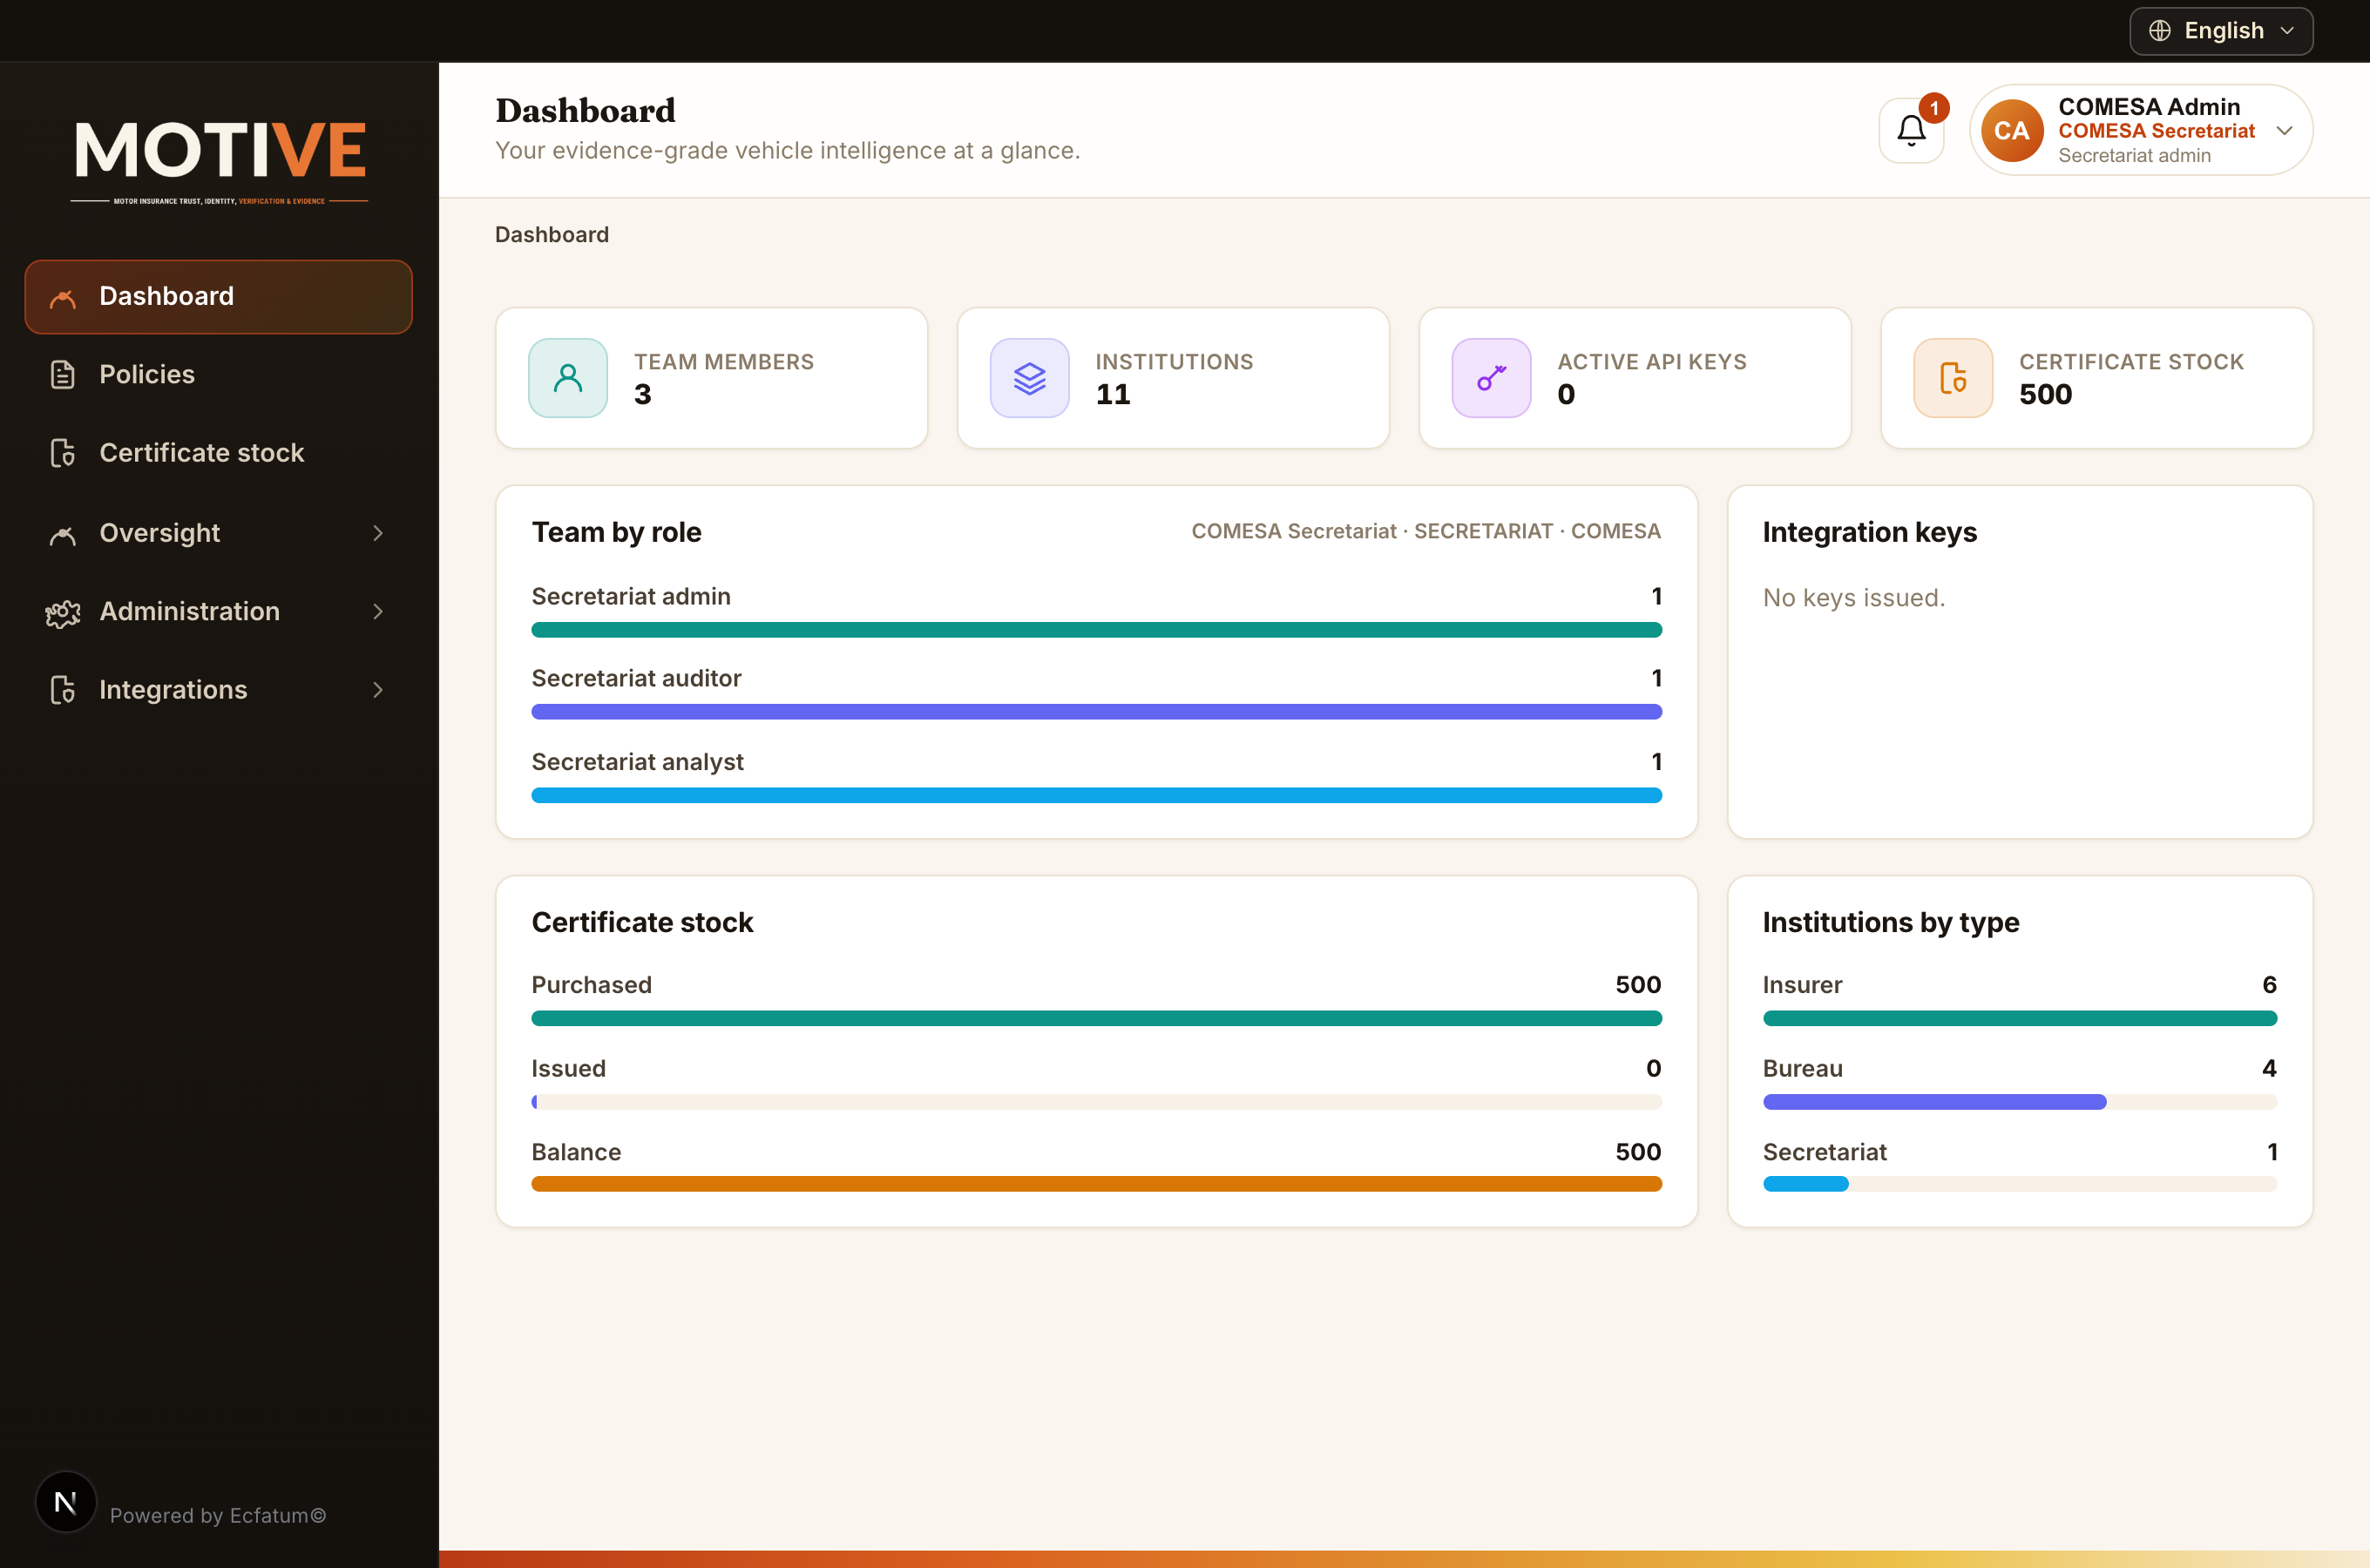
- You arrive at your dashboard — the home workspace for your role.
3. Finding your way around
- Left sidebar — your navigation, grouped into pillars, plus — for admins — an Administration & Integrations area. It only lists the screens your role can open, so your pillars match your job.
- Workspace — every role lands on a home workspace suited to its job. Users who wear more than one hat get a workspace switcher in the top bar.
- Top bar — page title and breadcrumb on the left; the notifications bell and your avatar on the right. The avatar menu holds Profile, this guide, and Sign out.
- Registers open search-first: set filters (date, country, institution, status), press Find/Load, then page through the results.
4. Institutions & how they fit together
The scheme is a hierarchy of institutions, each isolated from its peers:
- COMESA Secretariat — the scheme apex. Oversees every institution, sets the Yellow Card fee and scheme settings, and reads the whole scheme’s data. Does not underwrite, claim or capture itself.
- National Commission (regulator, where present) — supervises the insurers in its country and publishes the premium tariff and the certificate design.
- National Bureau — the border / Yellow Card authority for a country. Records border crossings, issues and validates Yellow Cards, and oversees its member insurers.
- Insurance company — underwrites policies, handles claims, onboards customers and captures vehicle evidence. Insurers never see each other’s data.
Visibility follows the tree, and data flows upward. You read your own institution and everything beneath it, never institutions beside you. An insurance company runs in its own deployment; its policy and claim data reaches the COMESA Secretariat only by being relayed up through the national commission — the secretariat sees scheme-wide oversight data without operating the commissions or insurers itself. Writing is always own-institution only — an administrator creates the institutions directly below them and their first admin, who then manages their own staff.
5. Every role at a glance
Roles are scheme-neutral and grouped by institution. Each carries a fixed ceiling of permissions; an administrator can narrow a person further with a role profile.
Secretariat (apex oversight)
- Platform Admin platform — creates the top-level institutions (the secretariat, national commissions and bureaux) and assigns each its first administrator.
- Secretariat Admin secretariat — provisions national commissions and bureaux, manages secretariat staff, sets the Yellow Card fee and scheme settings, and allocates digital Yellow Card stock.
- Secretariat Analyst secretariat — scheme-wide oversight: reads the relayed registers, reviews AI results, corrects plate reads, confirms vehicle matches, runs reports and places legal holds.
- Secretariat Auditor secretariat — read-and-attest: inspects the audit ledger and custody chain, places legal holds, exports evidence.
6. Administration & user management
Who: Platform Admin, and every institution’s Admin role.
- Create institutions — the Platform Admin creates the top-level institutions; each institution admin then registers the institutions directly beneath them and assigns each its first admin.
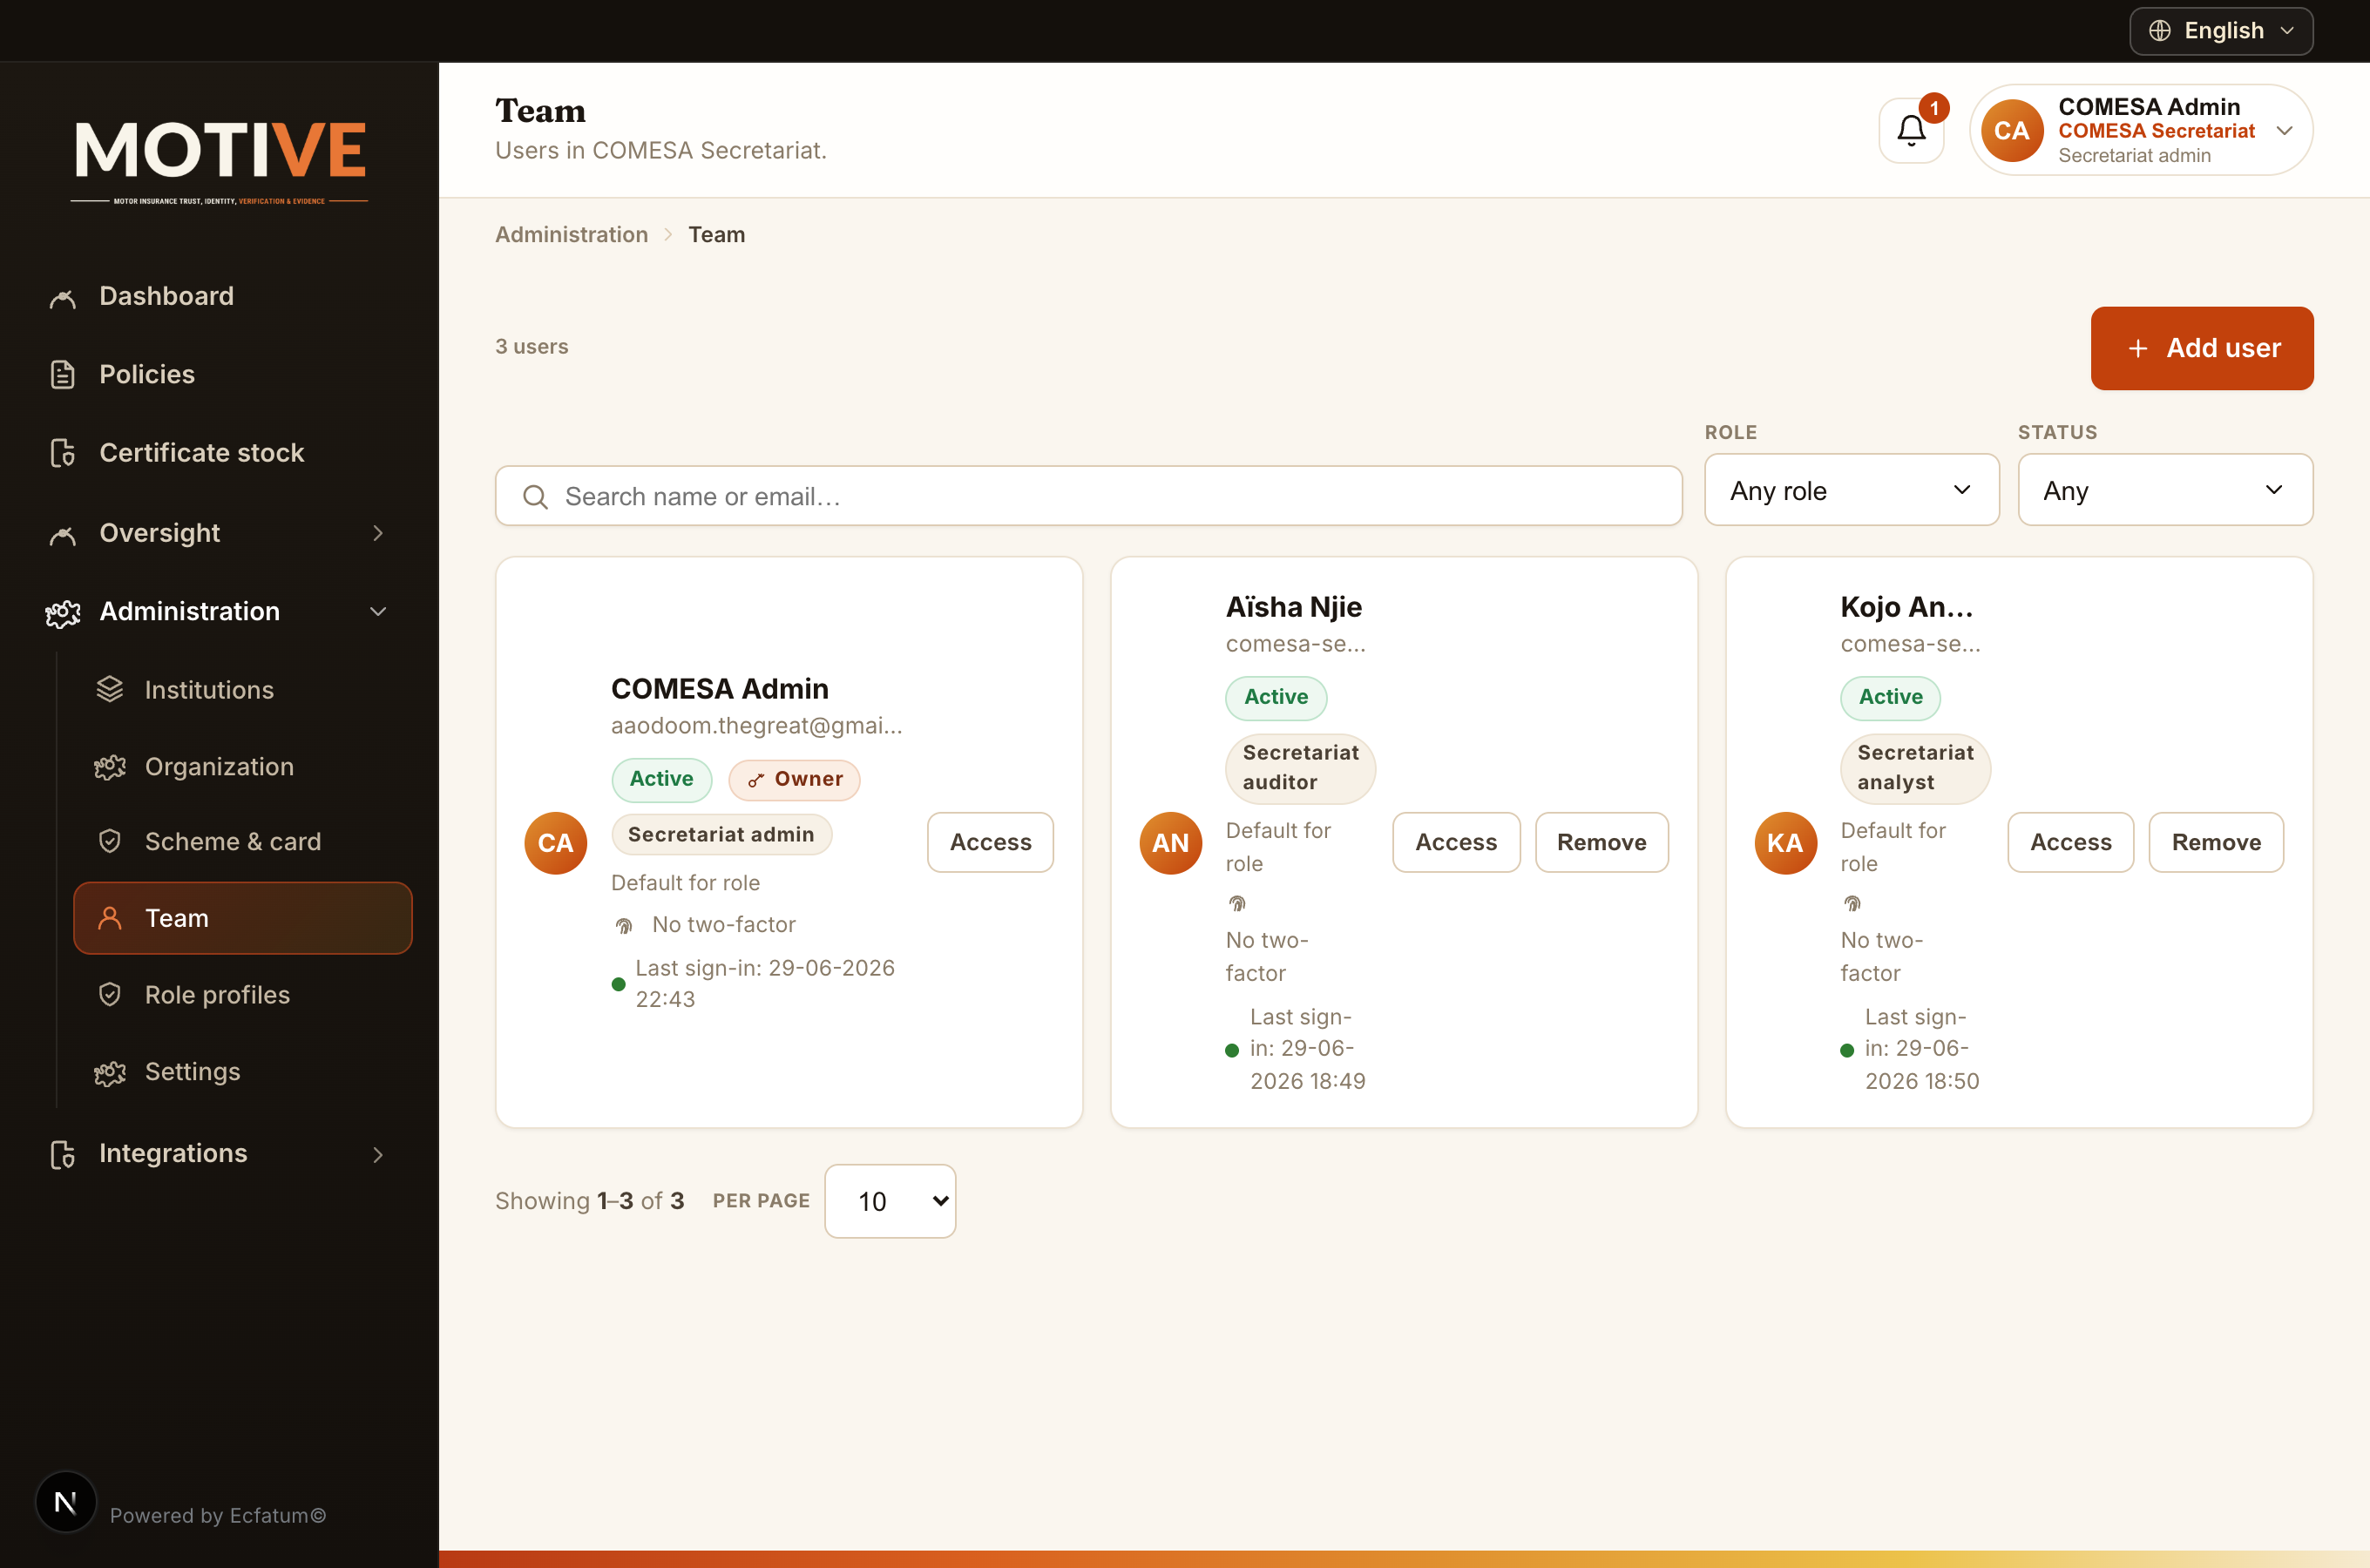
- Manage your team (Administration → Team) — invite staff, assign roles, reset passwords and deactivate leavers. You only ever manage your own institution’s users.
- Role profiles — define a narrowed set of permissions and apply it to a person, so you can grant less than a role’s full ceiling.
- Institution settings — your name, logo, branding, contact details, default language, two-factor (SMS) provider and AI/detection settings.
- Open Administration → Team in the left sidebar.
- Click Add user (top right).
- Enter the person’s name, work email and role, then save.
- They receive an email invitation with a link to set their password.
- To revoke access later, open their card and choose Remove.
7. Scheme & Yellow Card configuration
Who: Secretariat Admin.
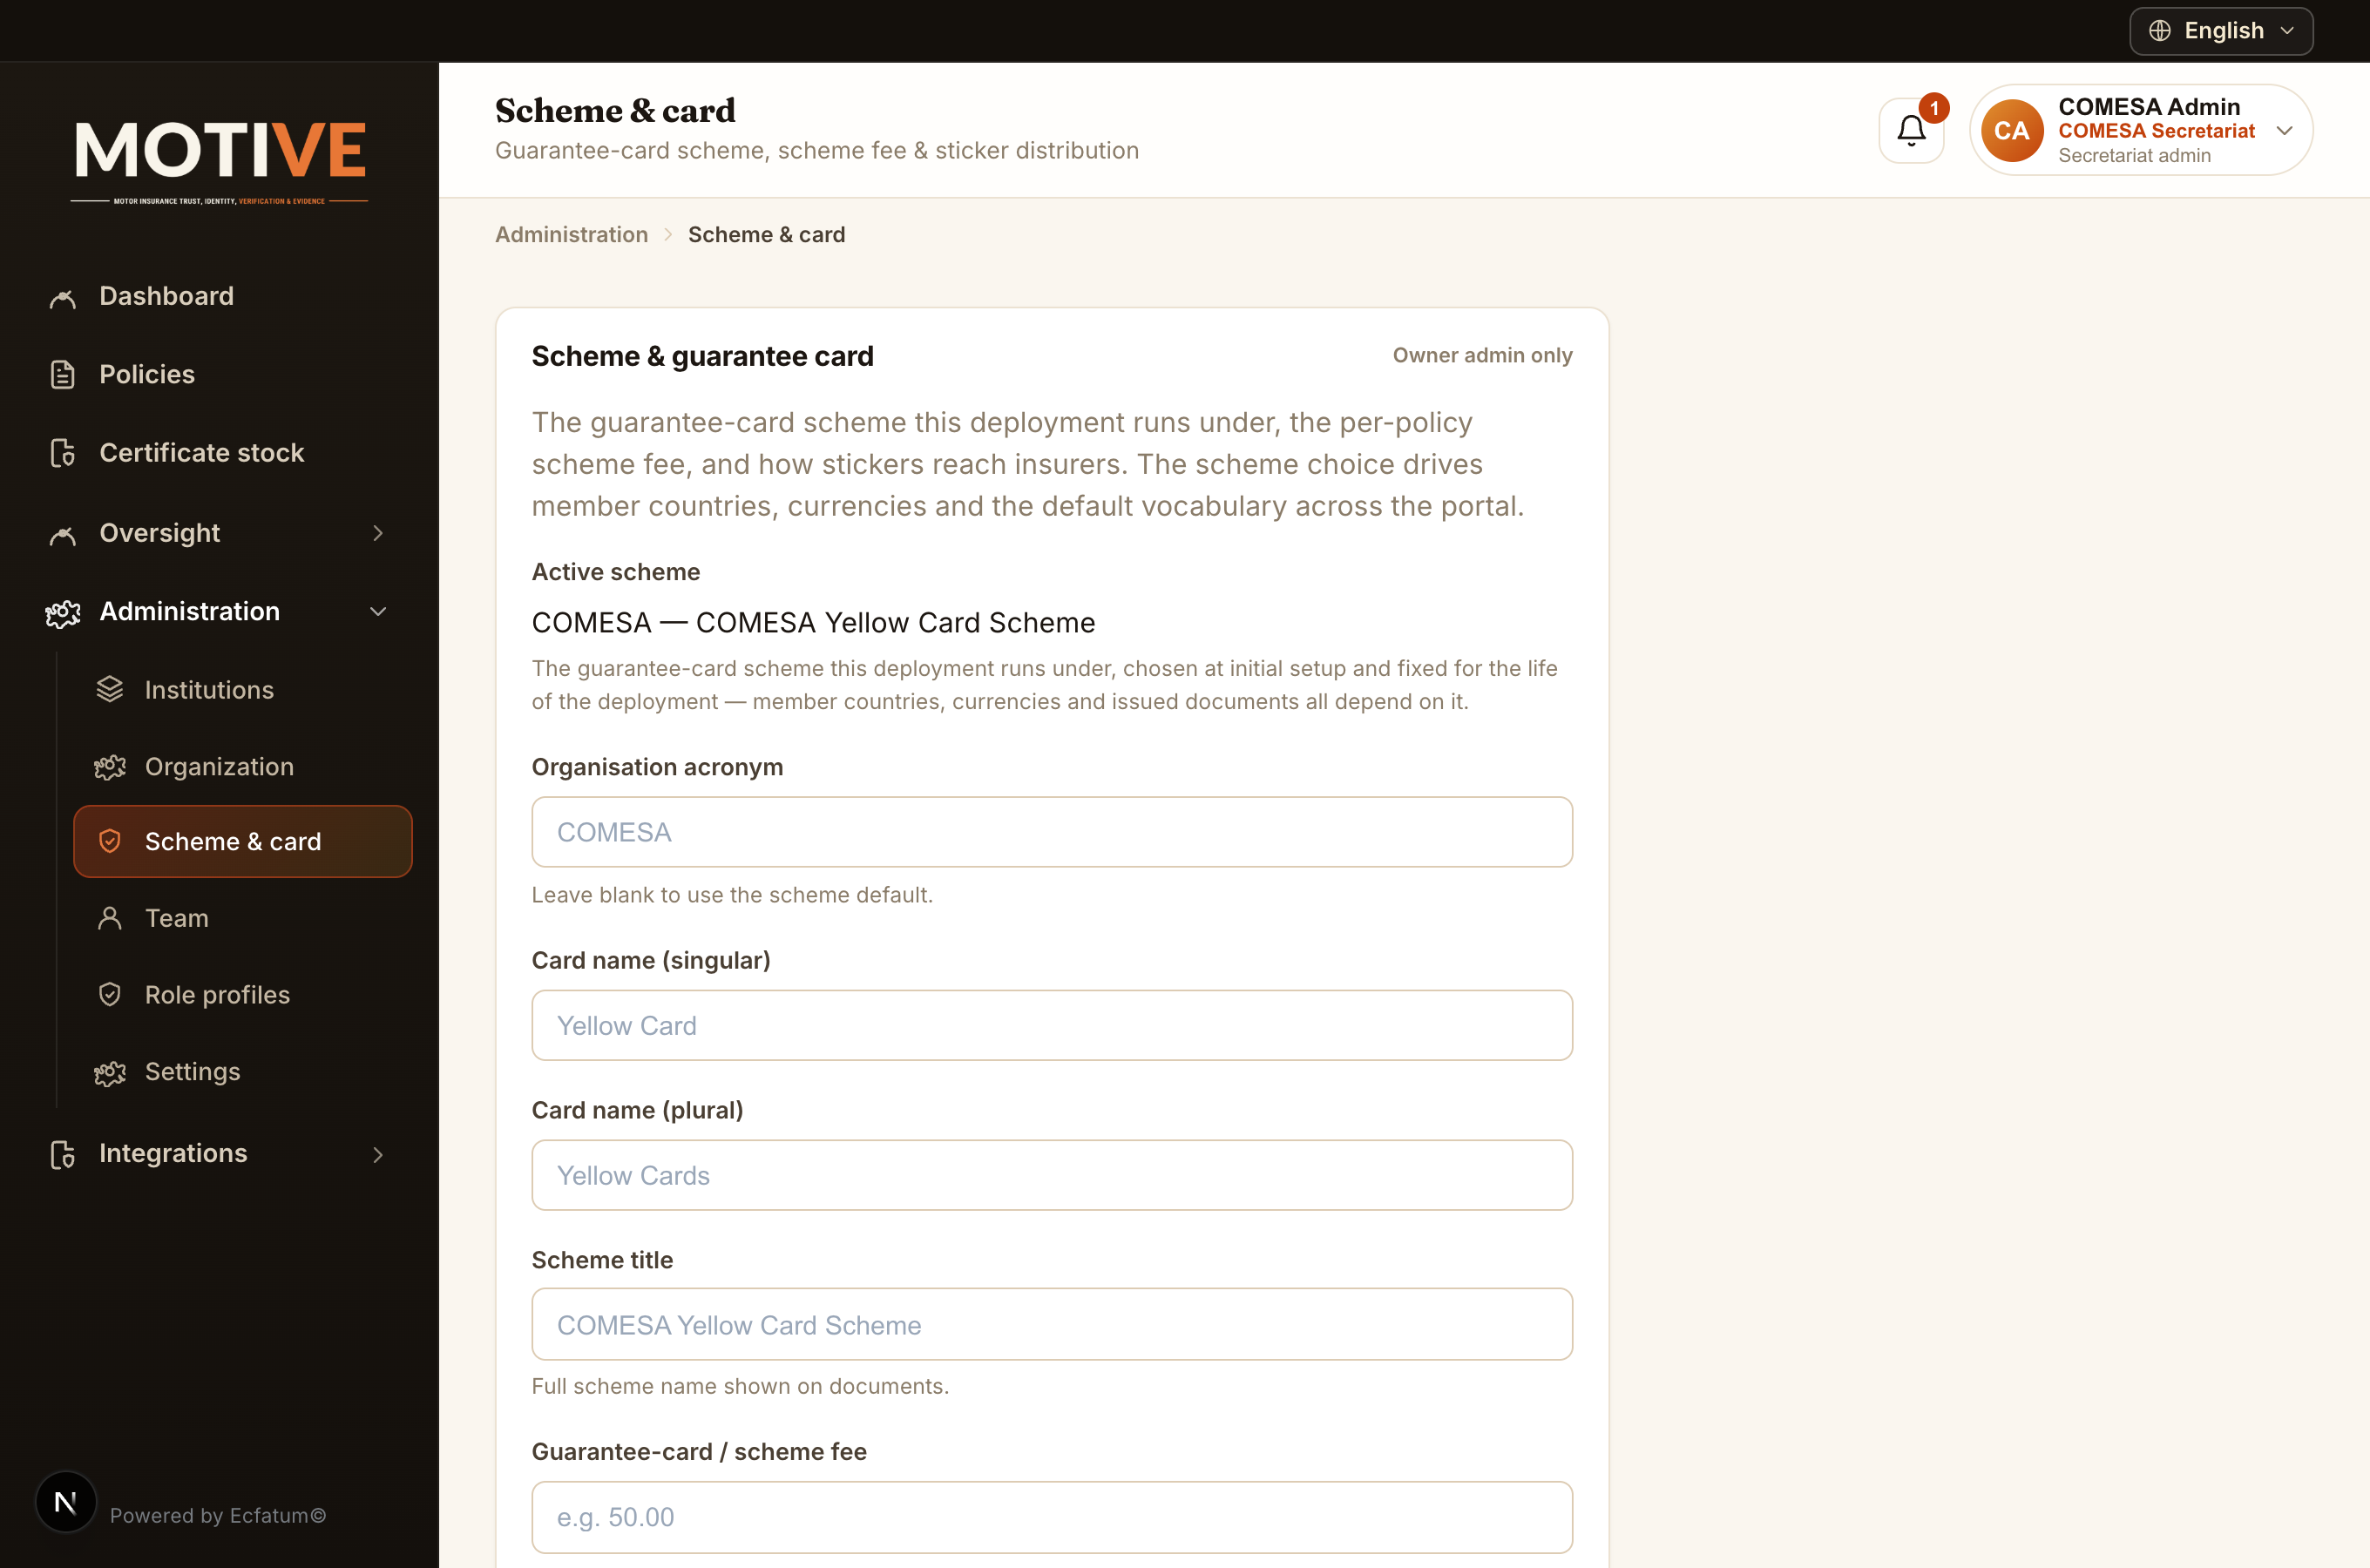
- Scheme & card — confirm the active scheme, set the Yellow Card / scheme fee, and override the organisation, card and scheme branding shown on certificates and across the portal.
- Open Administration → Scheme & card.
- Confirm the active scheme shown at the top.
- Set the Yellow Card / scheme fee and, if needed, the organisation acronym, card name and scheme title.
- Click Save — the new fee and branding apply across certificates and the portal.
8. Certificate stock
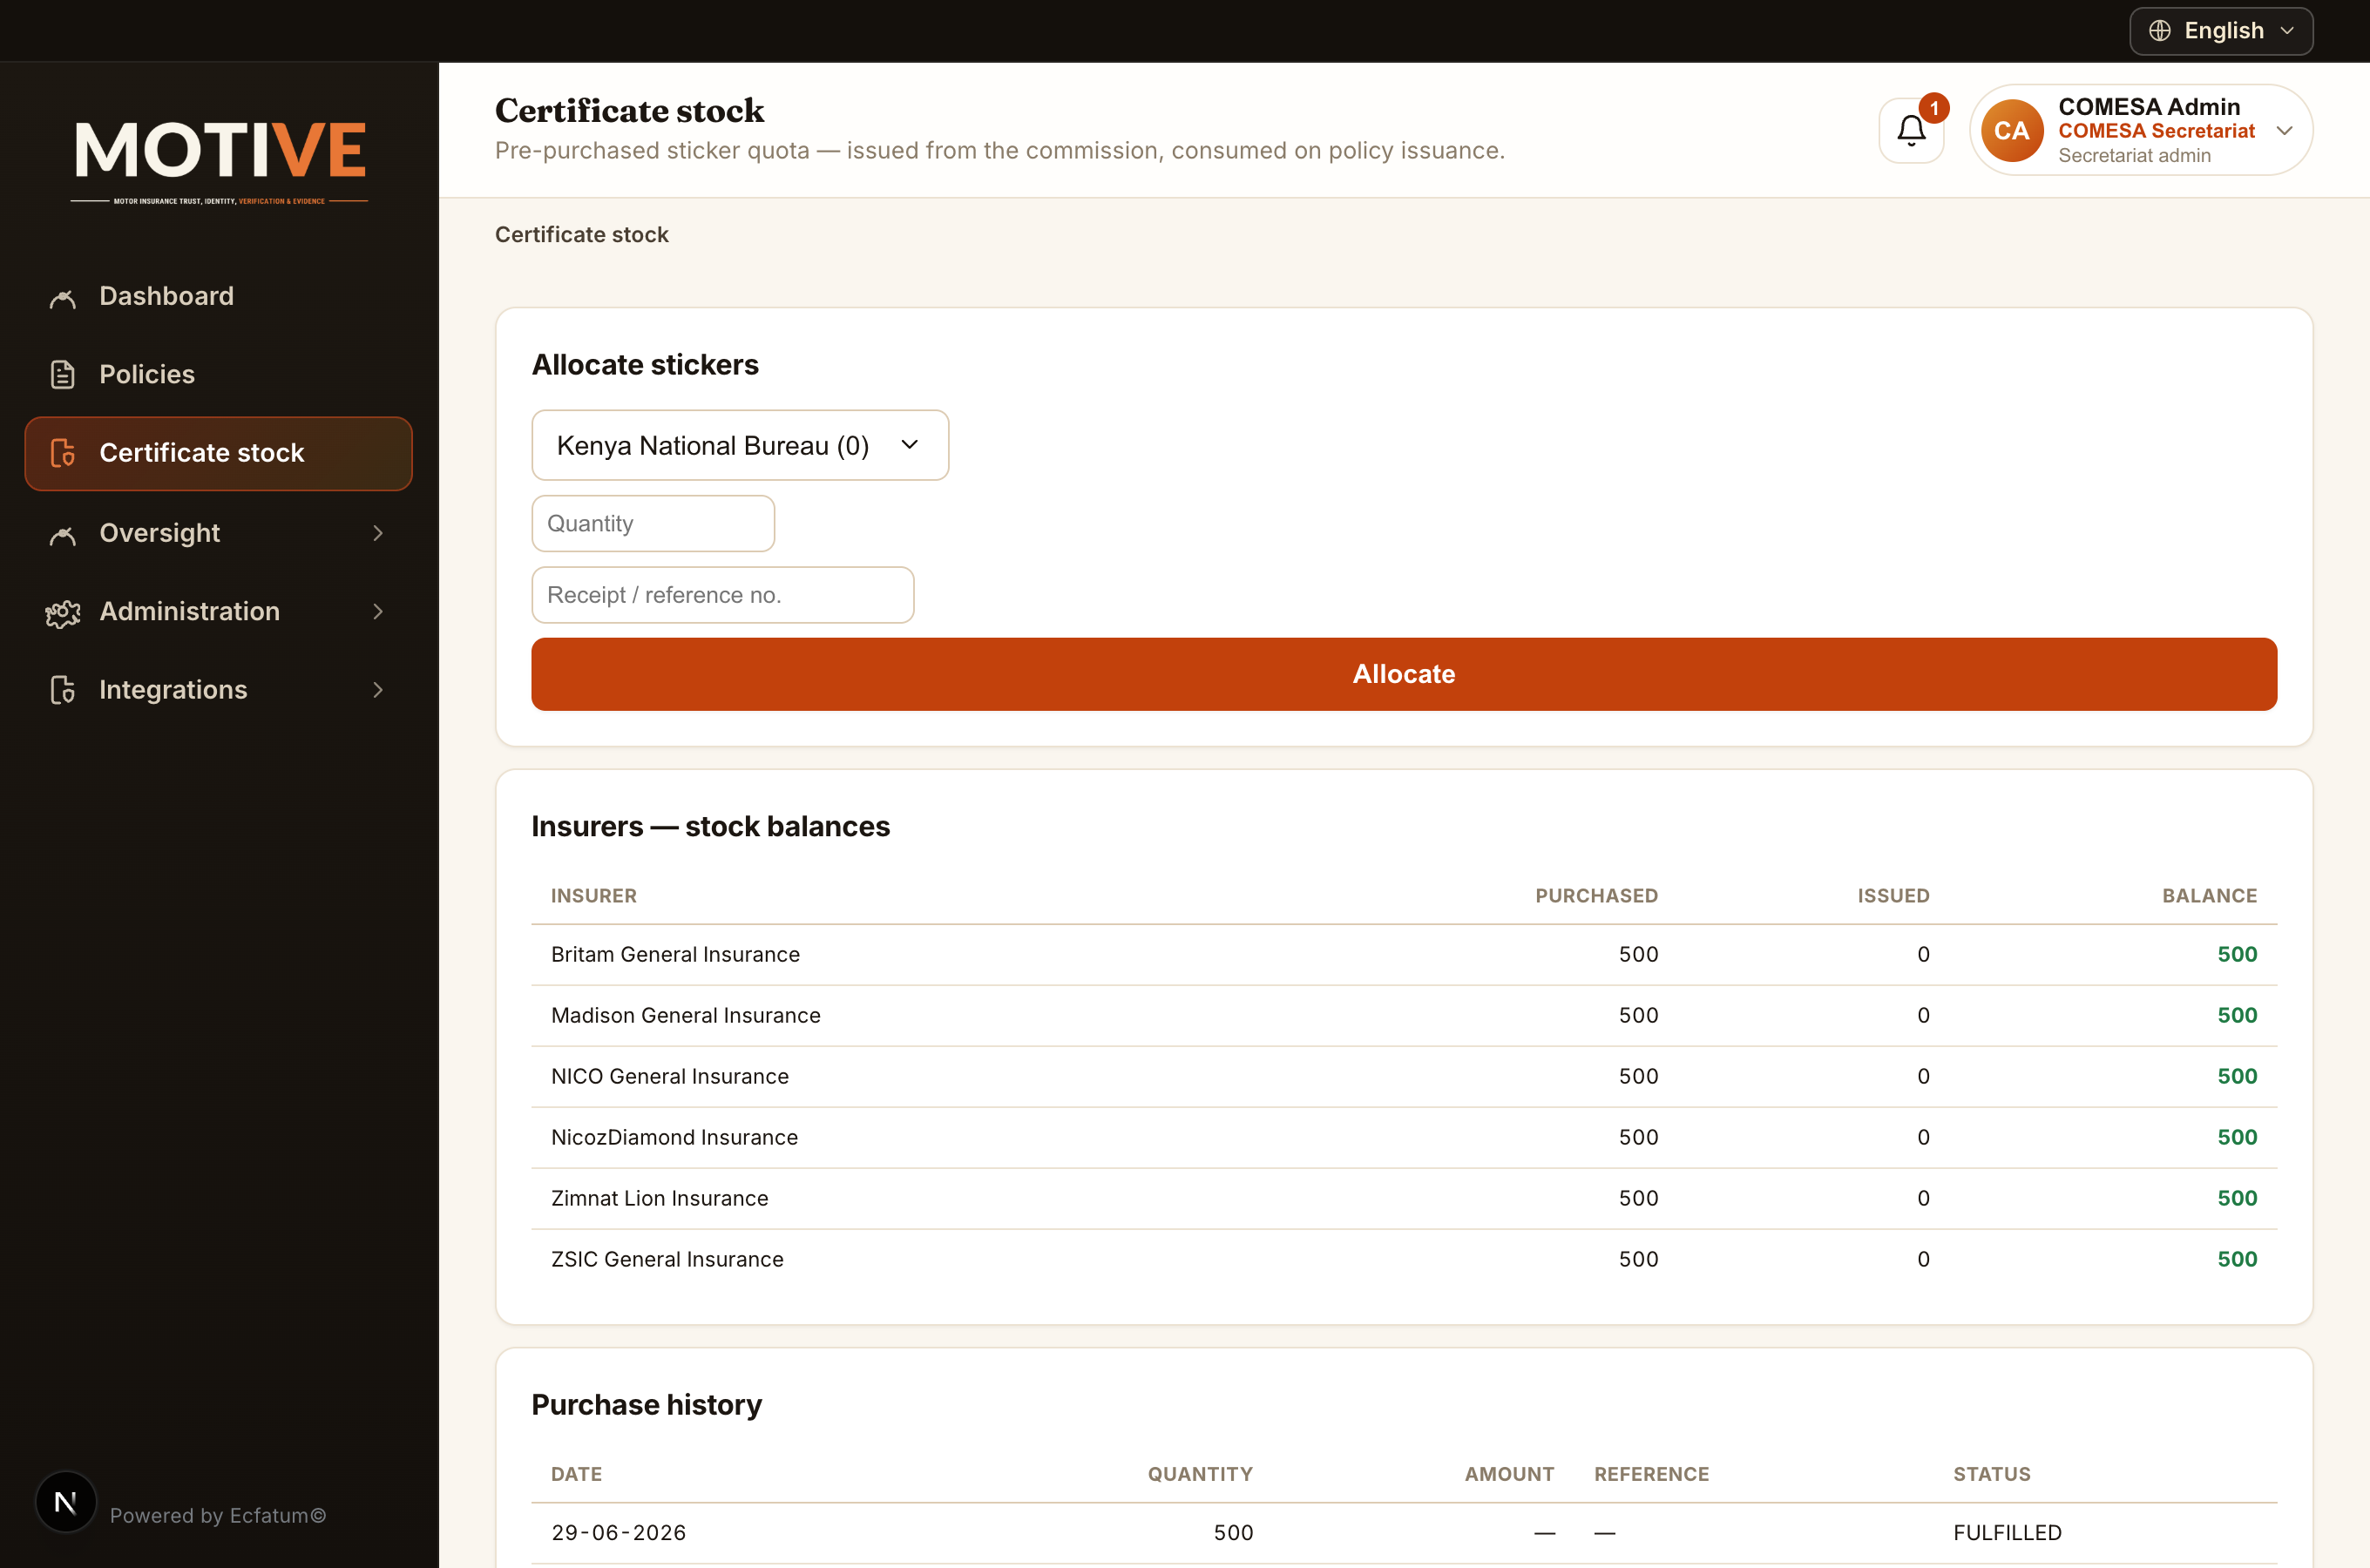
Who: Secretariat Admin.
- Allocate digital stock — issue Yellow Card certificate stock down to the national commissions and bureaux in the scheme.
9. Vehicle intelligence & AI
Who: analysts, supervisors, officers and inspection staff.
- AI plate reads — automatic licence-plate recognition you can confirm or correct.
- Identity matching — vehicles are matched on multiple signals (never the plate alone); you review and record the match decision as a separate record.
- AI insights — damage and base-vs-incident comparisons that support, but never replace, a human decision.
- Open a vehicle or capture from the Vehicles register.
- Review the AI plate read; if it is wrong, correct it.
- Review the identity match (multi-signal), then confirm or adjust and record the decision.
- Your correction is saved as a new, append-only record — the original AI output is kept.
10. Oversight, reports, audit & legal holds
Who: analysts, supervisors, auditors and regulator viewers.
- Dashboards / Oversight — KPIs and trends across your subtree (policies, claims, crossings, Yellow Cards, premiums), scoped to a date range.
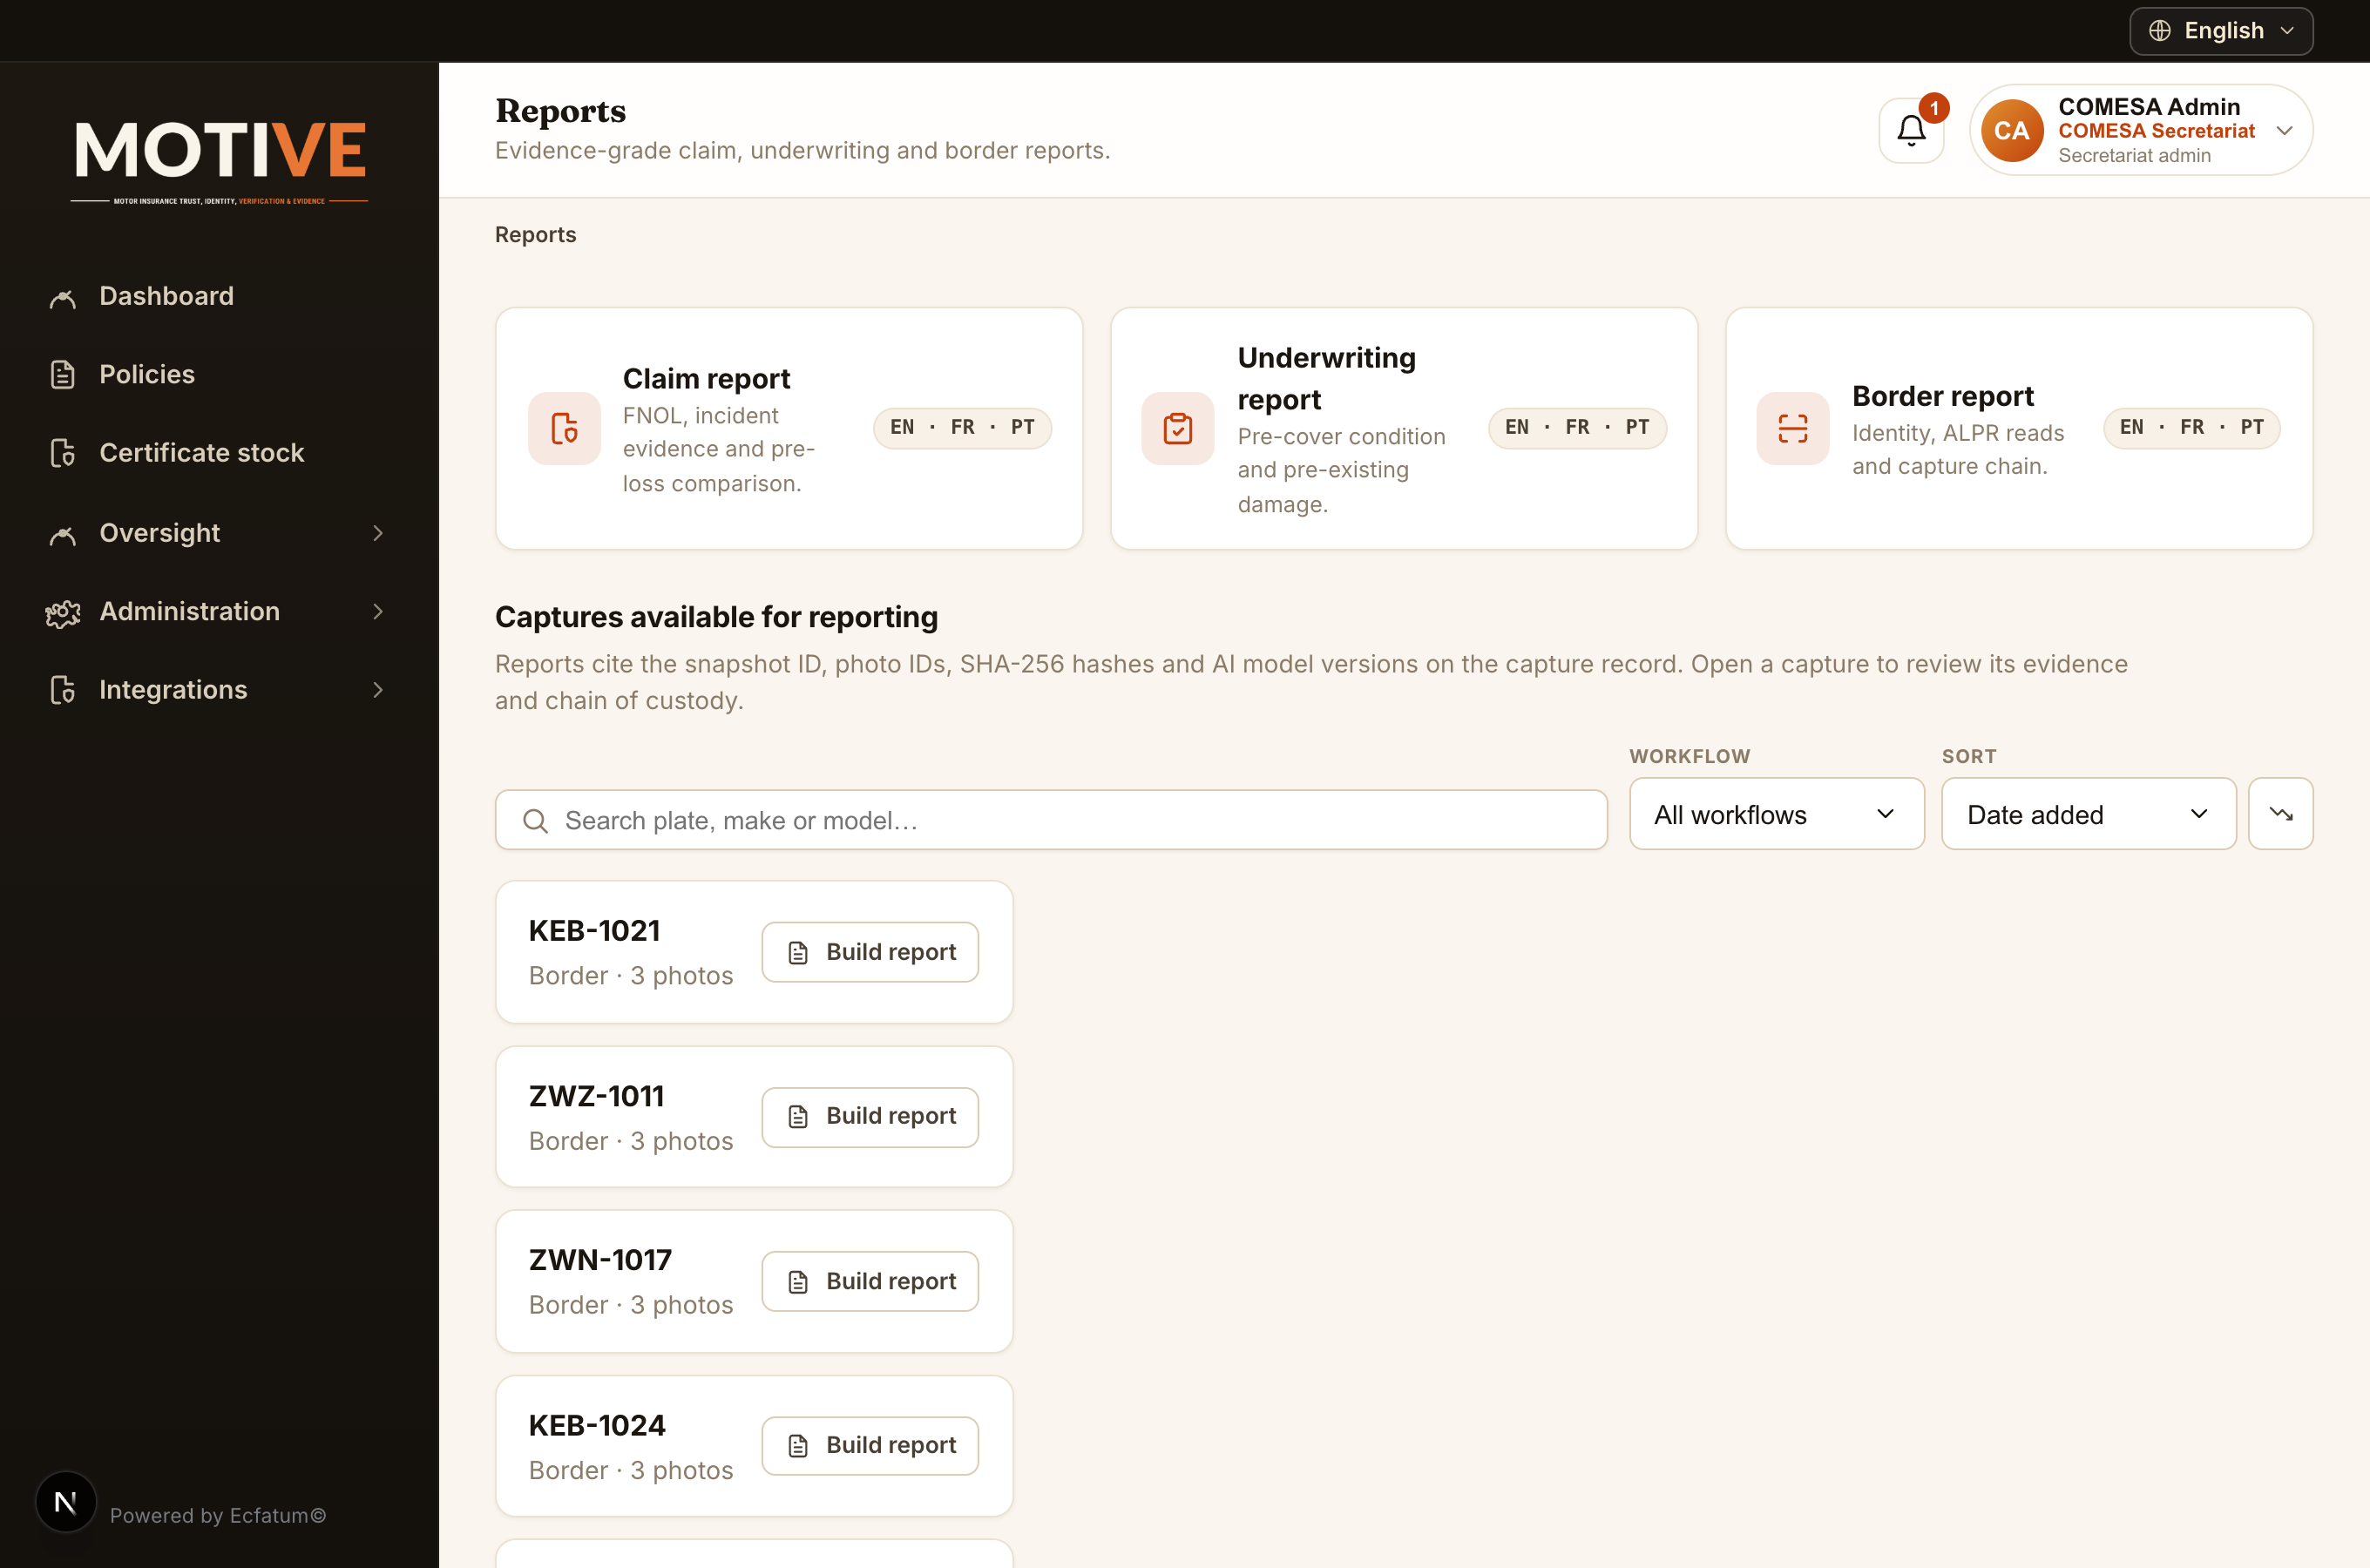
- Reports — filter by period, country and institution and export for board packs, regulators and reconciliation.
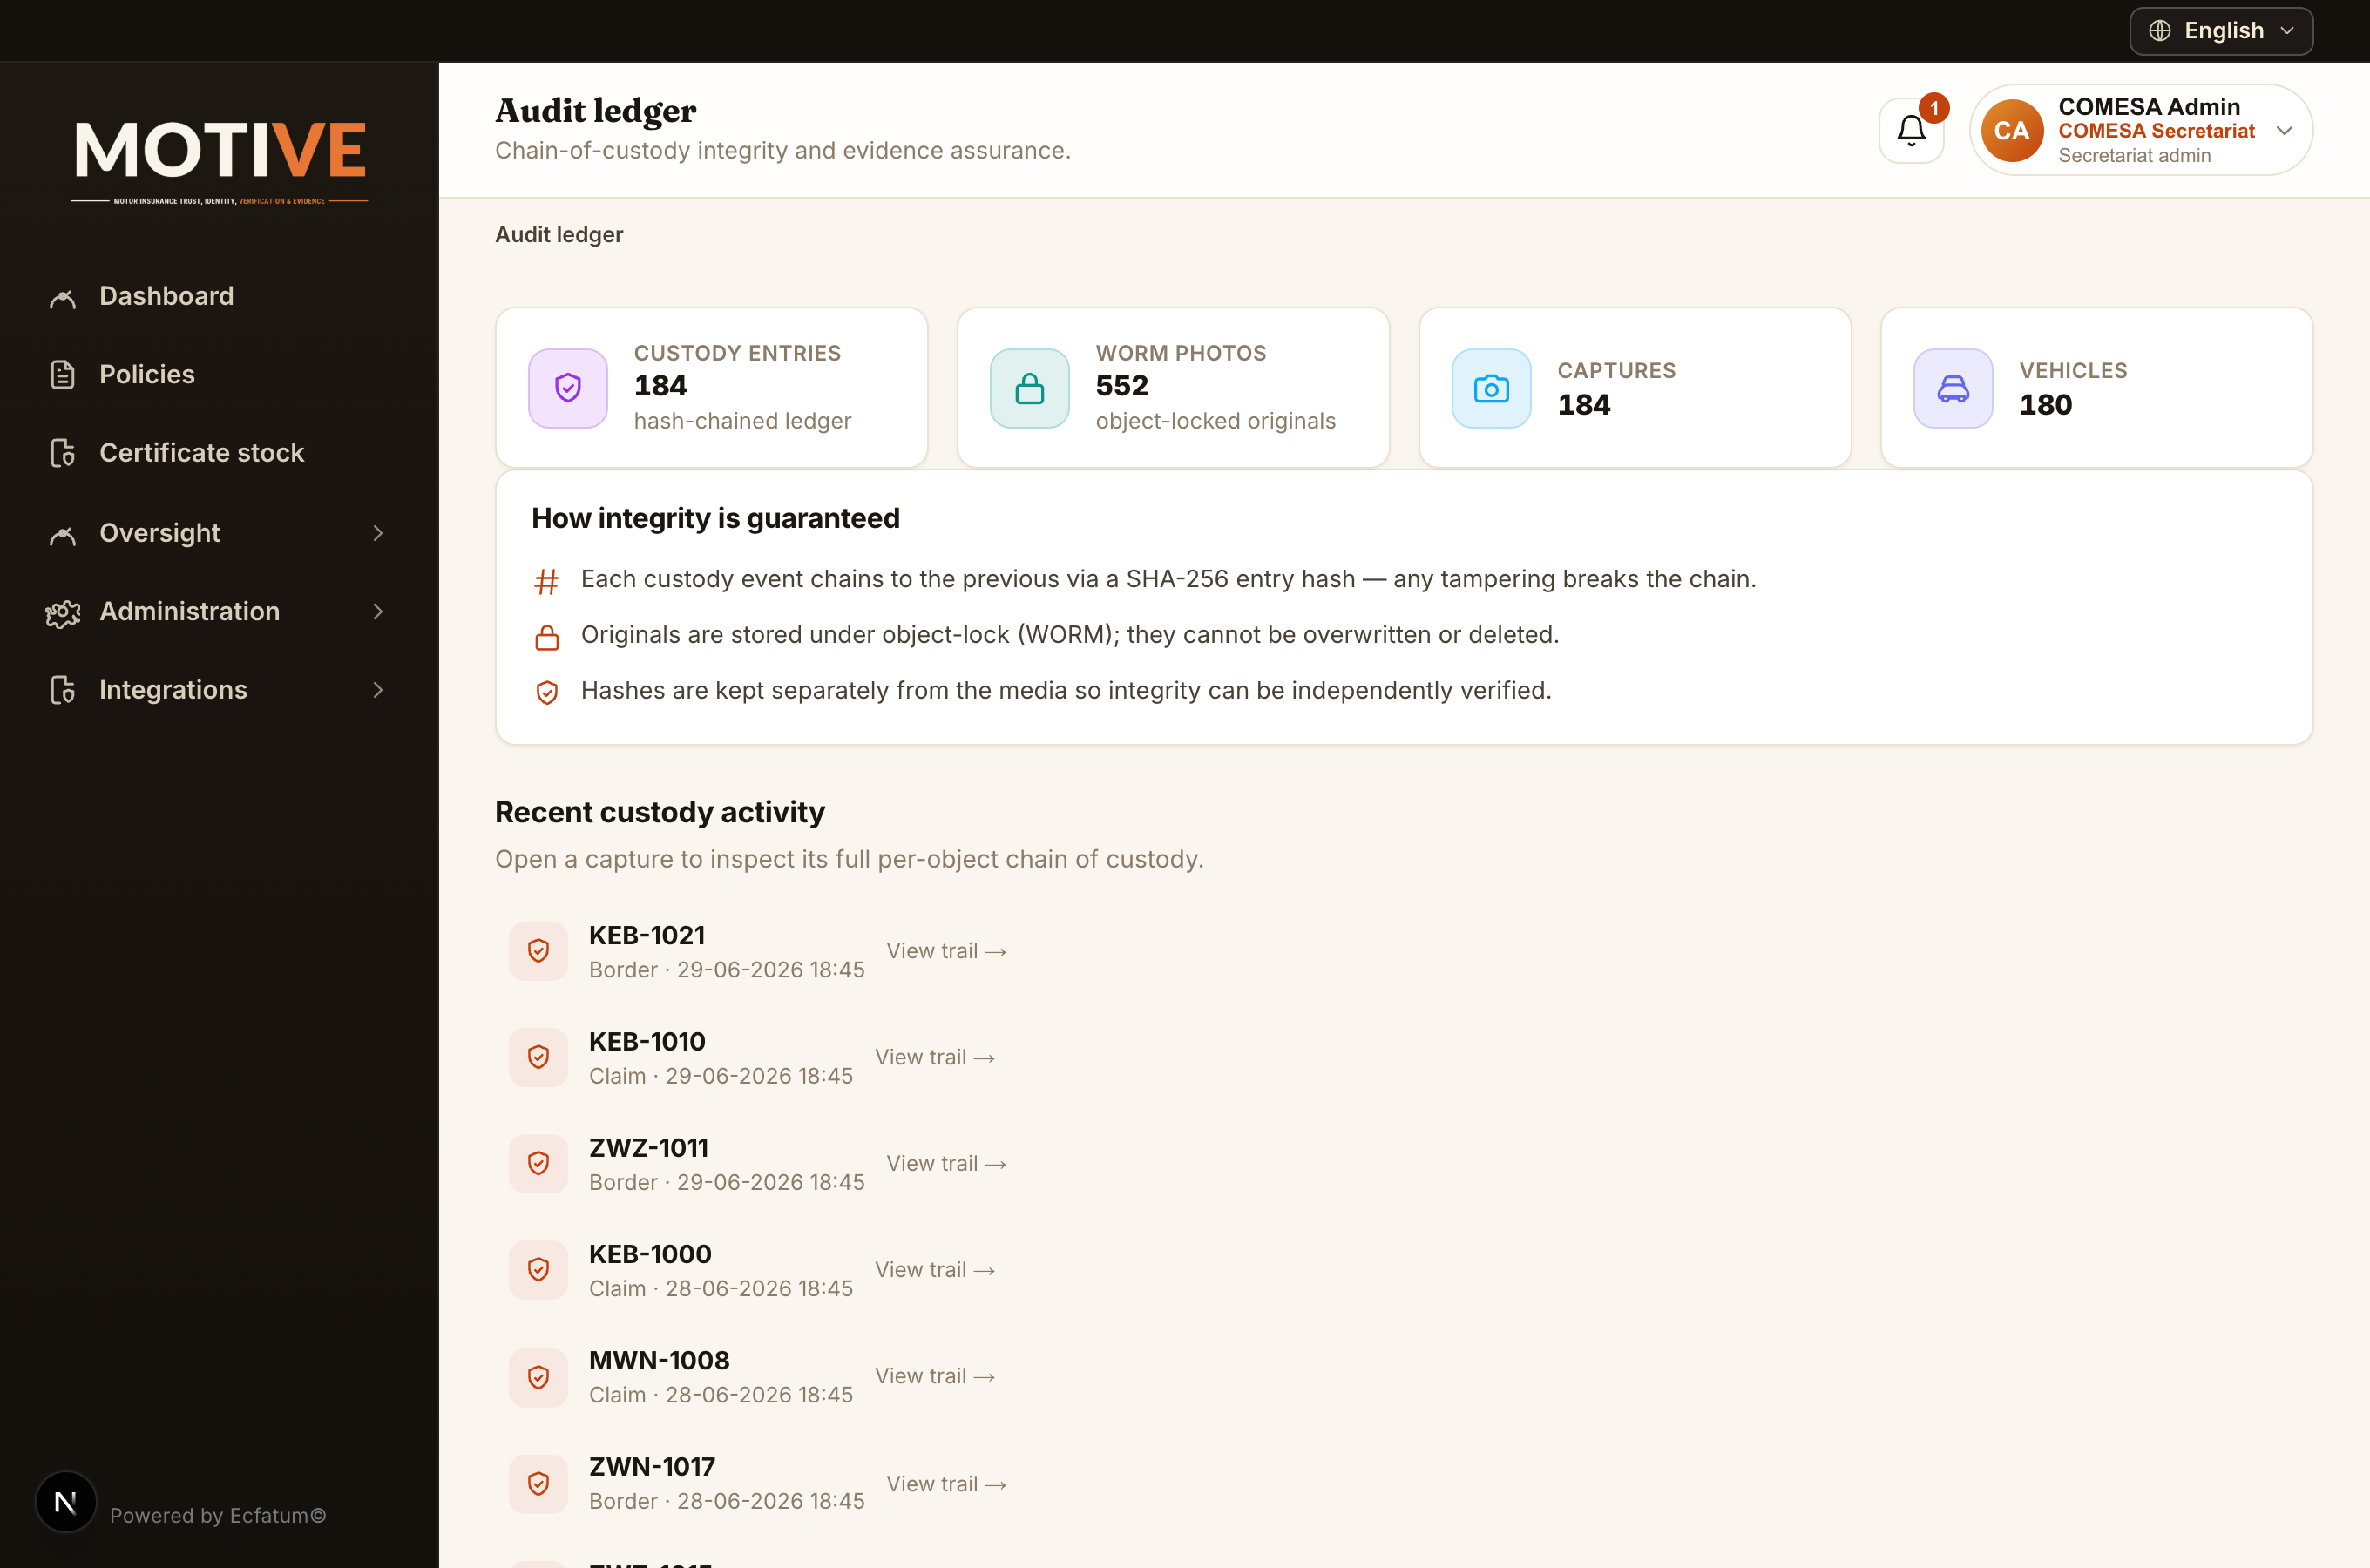
- Audit ledger — the hash-chained custody trail; auditors verify the chain and place legal holds to preserve evidence beyond normal retention.
- Audit log — the record of inbound integration (CMIS) requests and platform actions.
- On the Dashboard, set the date range to scope every figure to a period.
- Open Oversight → Reports, pick a report (claim, underwriting or border) and export it (EN/FR/PT).
- To preserve evidence for an investigation, open the Audit ledger, find the capture and place a legal hold.
11. Integrations & data relay
Who: institution Admins.
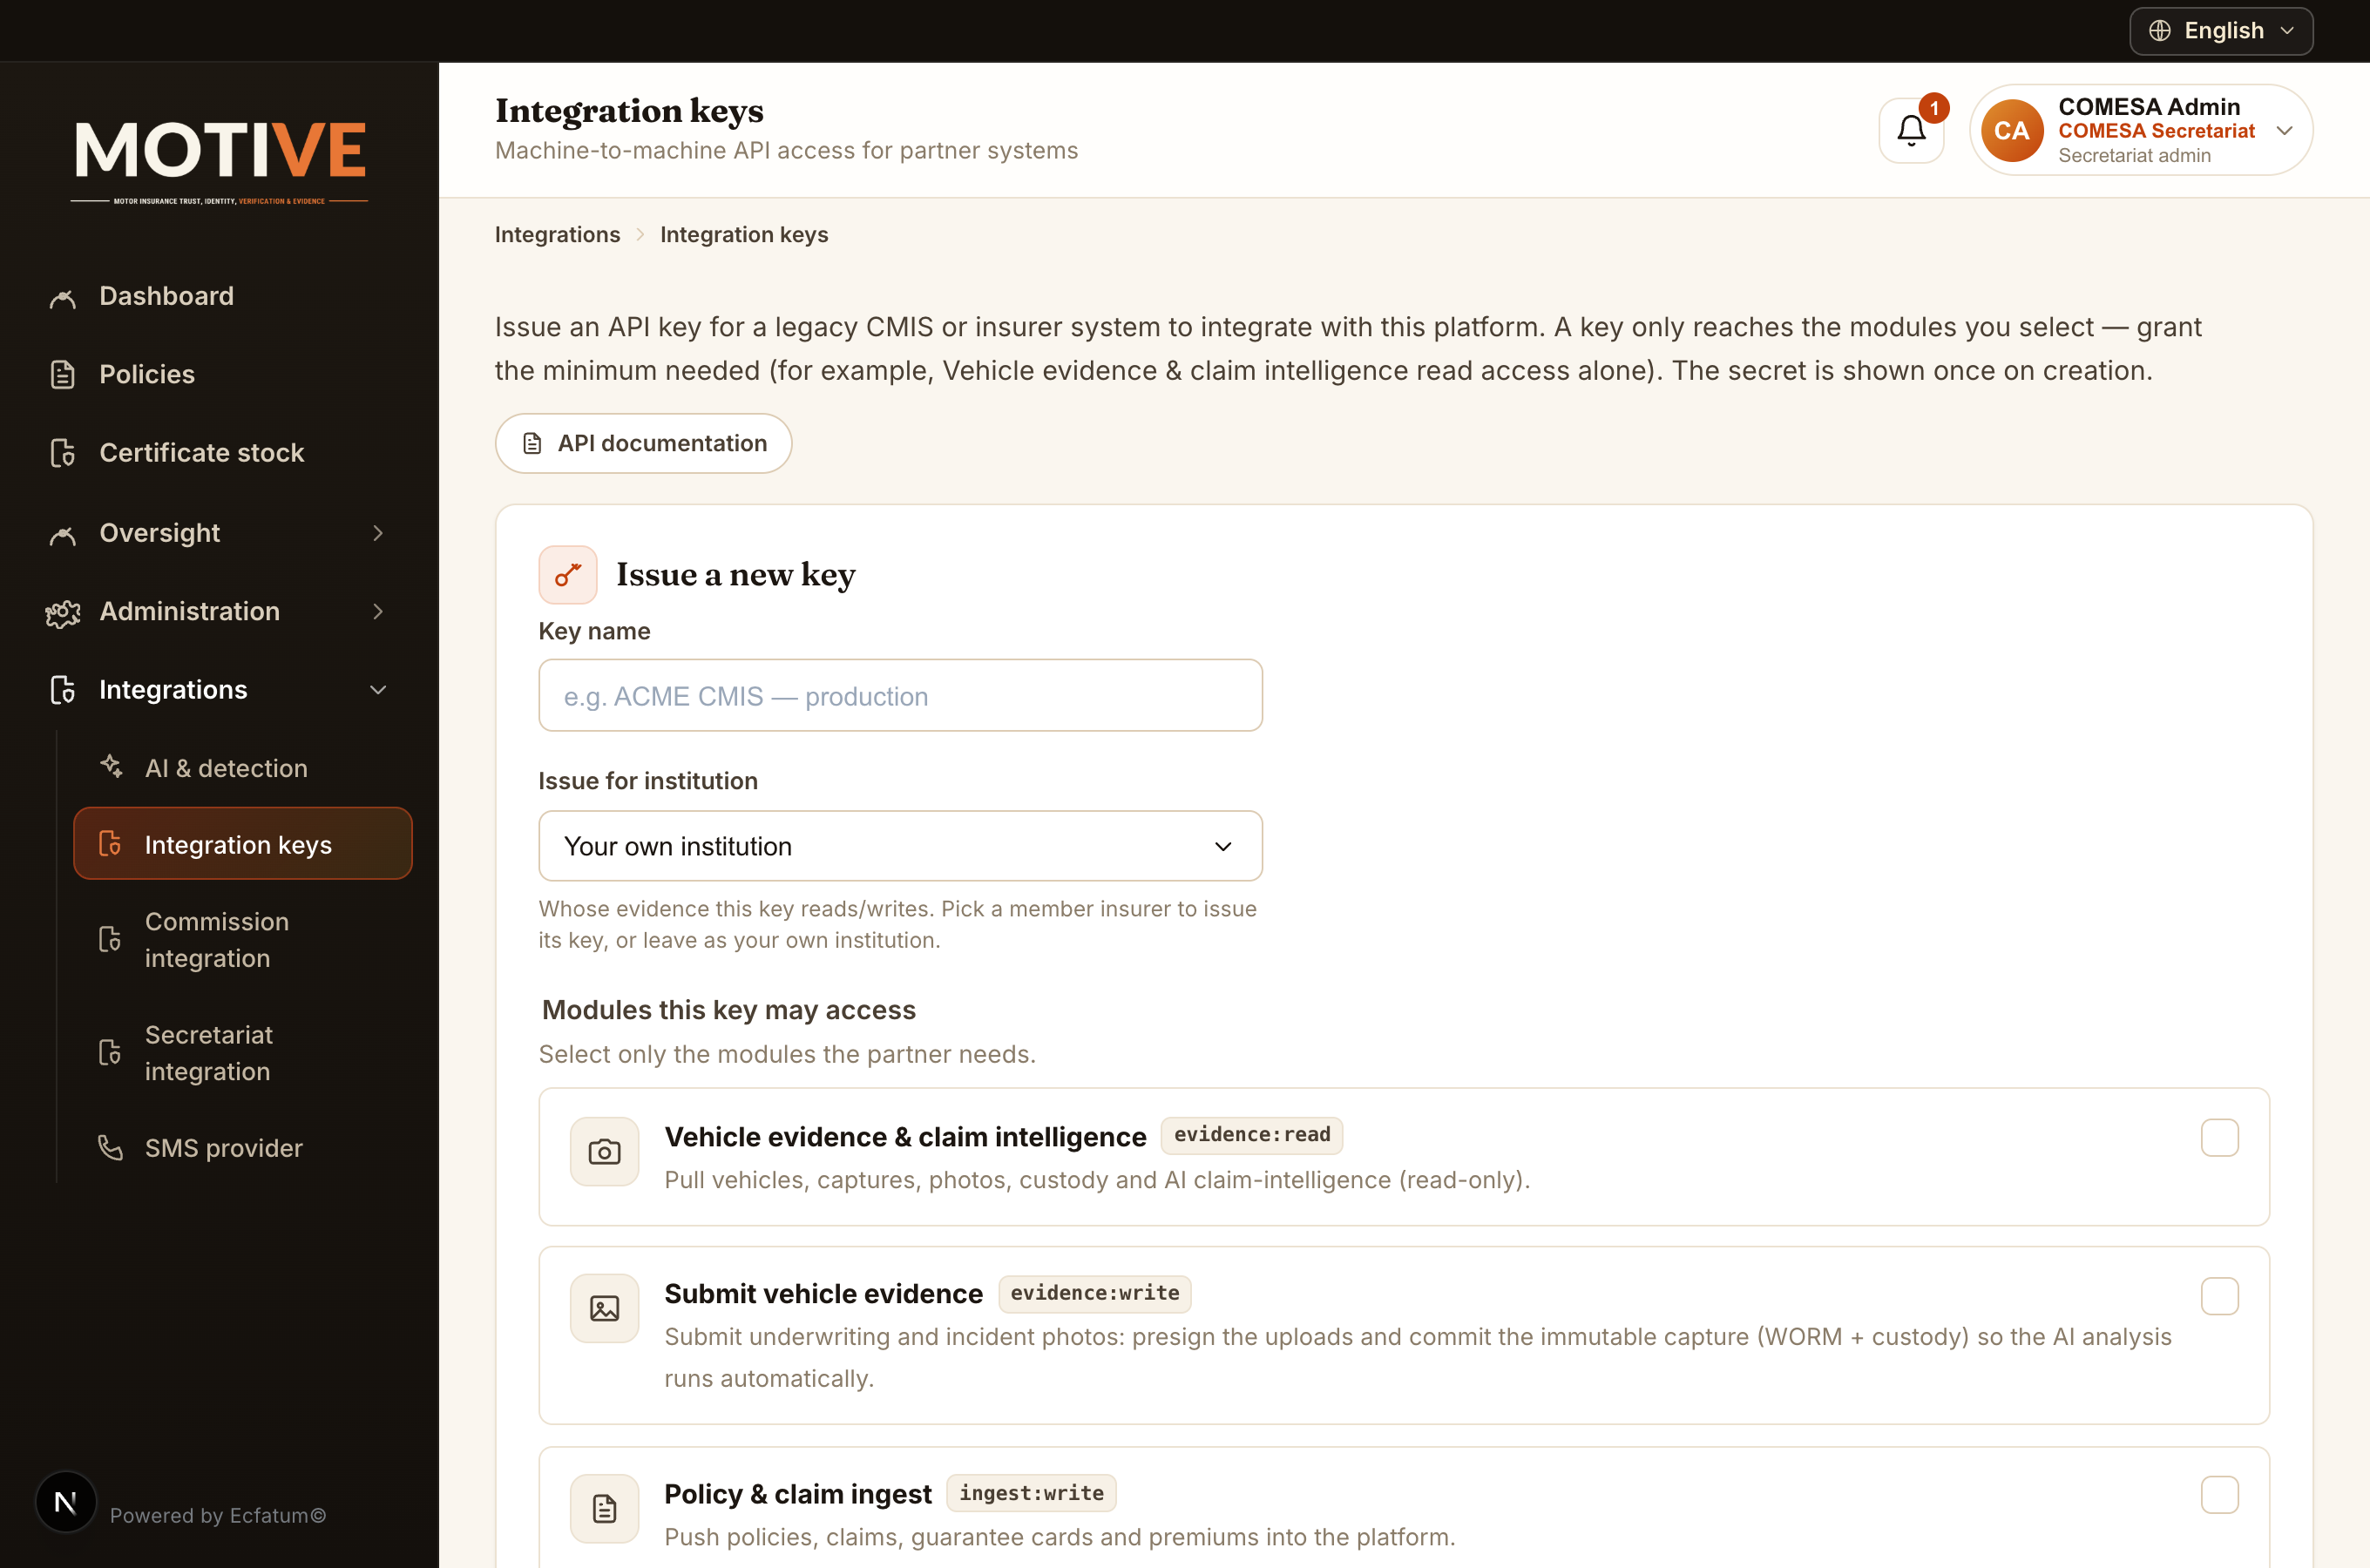
- Integration keys — issue API keys so a partner’s core system can push policies/claims in (CMIS ingest).
- Commission / Secretariat relay — insurers and bureaux relay their policies and claims up the tree so regulators keep complete registers.
- Police, payments & registry — connect the police/traffic evidence platform, the payment gateway, and national ID / business registries. Tenant isolation holds end-to-end.
- Open Integrations → Integration keys and click Issue a new key.
- Name the key and choose the institution it is for (one of your member insurers / bureaux).
- Tick only the modules it may use — for policy/claim relay, Policy & claim ingest (`ingest:write`).
- Save and copy the key now — it is shown only once, then give it to that institution so it can push its data up to you.
- Open Integrations → Integration keys and click API documentation (top of the page).
- The machine-readable CMIS API reference opens — it documents the ingest endpoints (policies, claims, evidence), authentication and webhooks.
- Your developers integrate a standalone core system against it, authenticating with the CMIS ingest API key above.
12. Evidence integrity & data isolation
The platform enforces evidence-grade guarantees you can rely on in disputes:
- Append-only / immutable — photos, metadata, AI output and decisions are never overwritten; corrections are new records and the original always survives.
- WORM storage — originals are written once and cannot be changed or deleted, with separate cryptographic and perceptual hashes.
- Hash-chained custody — each custody event links to the last, so any tampering is detectable.
- Tenant isolation — row-level security walls off each institution’s data; you see beneath you in the tree, never beside you.
13. Getting help
Start with the relevant section above. If a screen behaves unexpectedly, note the page and what you did, then contact your institution’s administrator or the platform operator. Account problems (locked out, lost two-factor device) are resolved by your own institution’s admin from Administration → Team.